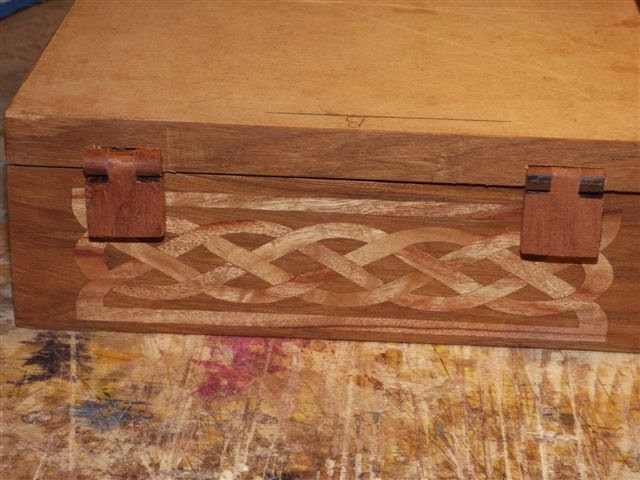
After the disaster of gluing the marquetry on the box lid backwards, well not really a disaster, maybe BUGGER!!! would be a better description. In days gone by I probably would said bugger it and put the box on the shelf and not touched it again. Now days things like that seem a little trivial, compared to life in the real world, so now I decide what to do and move on with the project so that is what I have done.
I had a rough idea for the design, but I just play with things to see how it turns out.

I have chosen the dark even grained and colour timber for the sky and the less even colour and wavy grain for the sea. The some idea as with the damaged marquetry panel.

I glued the two pieces together and allowed to dry. Then I applied tape to the front surface, before marking the work area. I then freehand drew the outline for the rocky coast.

I chose the veneer for the rock along the coast and I am going the run the grain in different directions, this along with some shading should give enough contrast and effect. I then drilled a pilot hole for the scroll saw.

With the scroll saw table set at an angle of 7 degrees, I cut around the first inlay in a clockwise direction.

I removed the work from the scroll saw and separated the pieces. Discarding the top piece and keeping the inlay piece.

With an old paint brush I cleaned the work area.
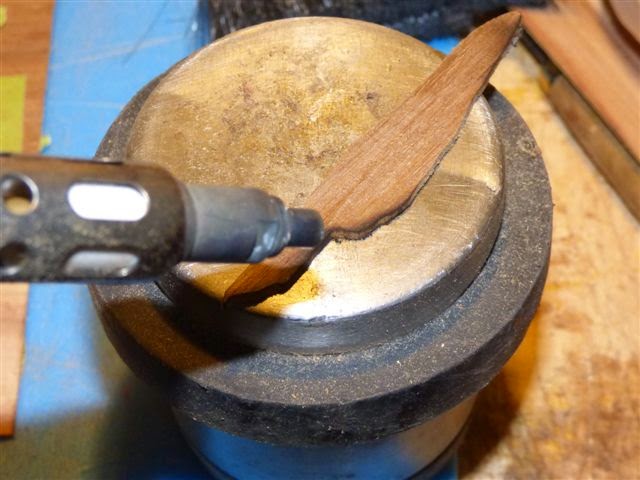
Using the gas soldering iron I shade the area of rock that I think would naturally be in shadow.

I applied quick set PVA glue to the edge of the inlay area.

Inserted the inlay veneer from the back of the work.

And firmly pressed into position and allowed the glue to set.


I then leveled the reverse of the marquetry with a small scraper.


If the grain is uneven in the inlay veneer I use a small router to level the back, this way there is less likelihood of tear-outs.


I continued with this until the rocky coastline was complete.

Finishing by leveling the area with the small router.

I then removed the tape from the front of the marquetry so I could get a better idea of the effect, alough some of the shading looks dark, this will soften when sanded.

Next using the pattern for the pelican I used in an earlier project, I put tape over the surface and glued the pattern to the work.

Using the method described above I slowly did the Pelican.


I have wiped the work over with a damp cloth to get an idea of the finished effect.


I then added the Lighthouse in the same way, I also added a couple more rocks to make the Lighthouse blend with its surrounds.
I had a rough idea for the design, but I just play with things to see how it turns out.
I have chosen the dark even grained and colour timber for the sky and the less even colour and wavy grain for the sea. The some idea as with the damaged marquetry panel.
I glued the two pieces together and allowed to dry. Then I applied tape to the front surface, before marking the work area. I then freehand drew the outline for the rocky coast.
I chose the veneer for the rock along the coast and I am going the run the grain in different directions, this along with some shading should give enough contrast and effect. I then drilled a pilot hole for the scroll saw.
With the scroll saw table set at an angle of 7 degrees, I cut around the first inlay in a clockwise direction.
I removed the work from the scroll saw and separated the pieces. Discarding the top piece and keeping the inlay piece.
With an old paint brush I cleaned the work area.
Using the gas soldering iron I shade the area of rock that I think would naturally be in shadow.
I applied quick set PVA glue to the edge of the inlay area.
Inserted the inlay veneer from the back of the work.
And firmly pressed into position and allowed the glue to set.
I then leveled the reverse of the marquetry with a small scraper.
If the grain is uneven in the inlay veneer I use a small router to level the back, this way there is less likelihood of tear-outs.
I continued with this until the rocky coastline was complete.
Finishing by leveling the area with the small router.
I then removed the tape from the front of the marquetry so I could get a better idea of the effect, alough some of the shading looks dark, this will soften when sanded.
Next using the pattern for the pelican I used in an earlier project, I put tape over the surface and glued the pattern to the work.
Using the method described above I slowly did the Pelican.
I have wiped the work over with a damp cloth to get an idea of the finished effect.
I then added the Lighthouse in the same way, I also added a couple more rocks to make the Lighthouse blend with its surrounds.